
Yesterday I still couldn’t find the queen in the second hive. I am just sure she flew away. When I opened it up and looked inside, there seemed to be fewer bees than there were the day before. I went over and checked my first (original) hive….the one that had all the drones emerging last week. Lifting the top, I saw that the new queen (remember, I found that there were actually two in the new package of bees ~ you can read about this in my earlier post) was still in her cage. The workers had almost chewed through that piece of marshmallow I had substituted for the cork and I’m sure by now, she is out.
Curiously enough, this hive had MORE bees in it than the other one. I suspect that since there had been two queens in the package…and even though the bees had seemed to prefer the other one, once she flew the coop, the pheromones from this queen had actually lured some of the gals from the new hive into the original one. But I still had a problem! There was obviously no queen in my new hive and so I was pretty much right back where I started. I had a queenless hive…and one with not enough workers to get through the season even if I requeened right away. This left me with one option as far as I could see. I would combine the two and hope for the best.
So, late yesterday evening, the bees seemed to have called it a day. I decided to go out and move things around. In the morning, they’d wake up and “bee” one happy household. My first decision was location. Should I move the new hive to fit on top of the old one, or move the old one over to fit on the new one? I had the first hive right up against the house. It was in a sunny location with the roof overhang to keep them dry and the house to block the wind. However, the other hive was also in a sunny spot and I wanted to keep the new bottom board on when I combined the two. This screened bottom board (Country Rubes by Dadant) has access from the back of the hive so that you can put in a sticky bottom under the screen when you want to assess varroa mite populations. If the hive was up against the house, I wouldn’t be able to access it from the rear. I moved the old hive to the new location!
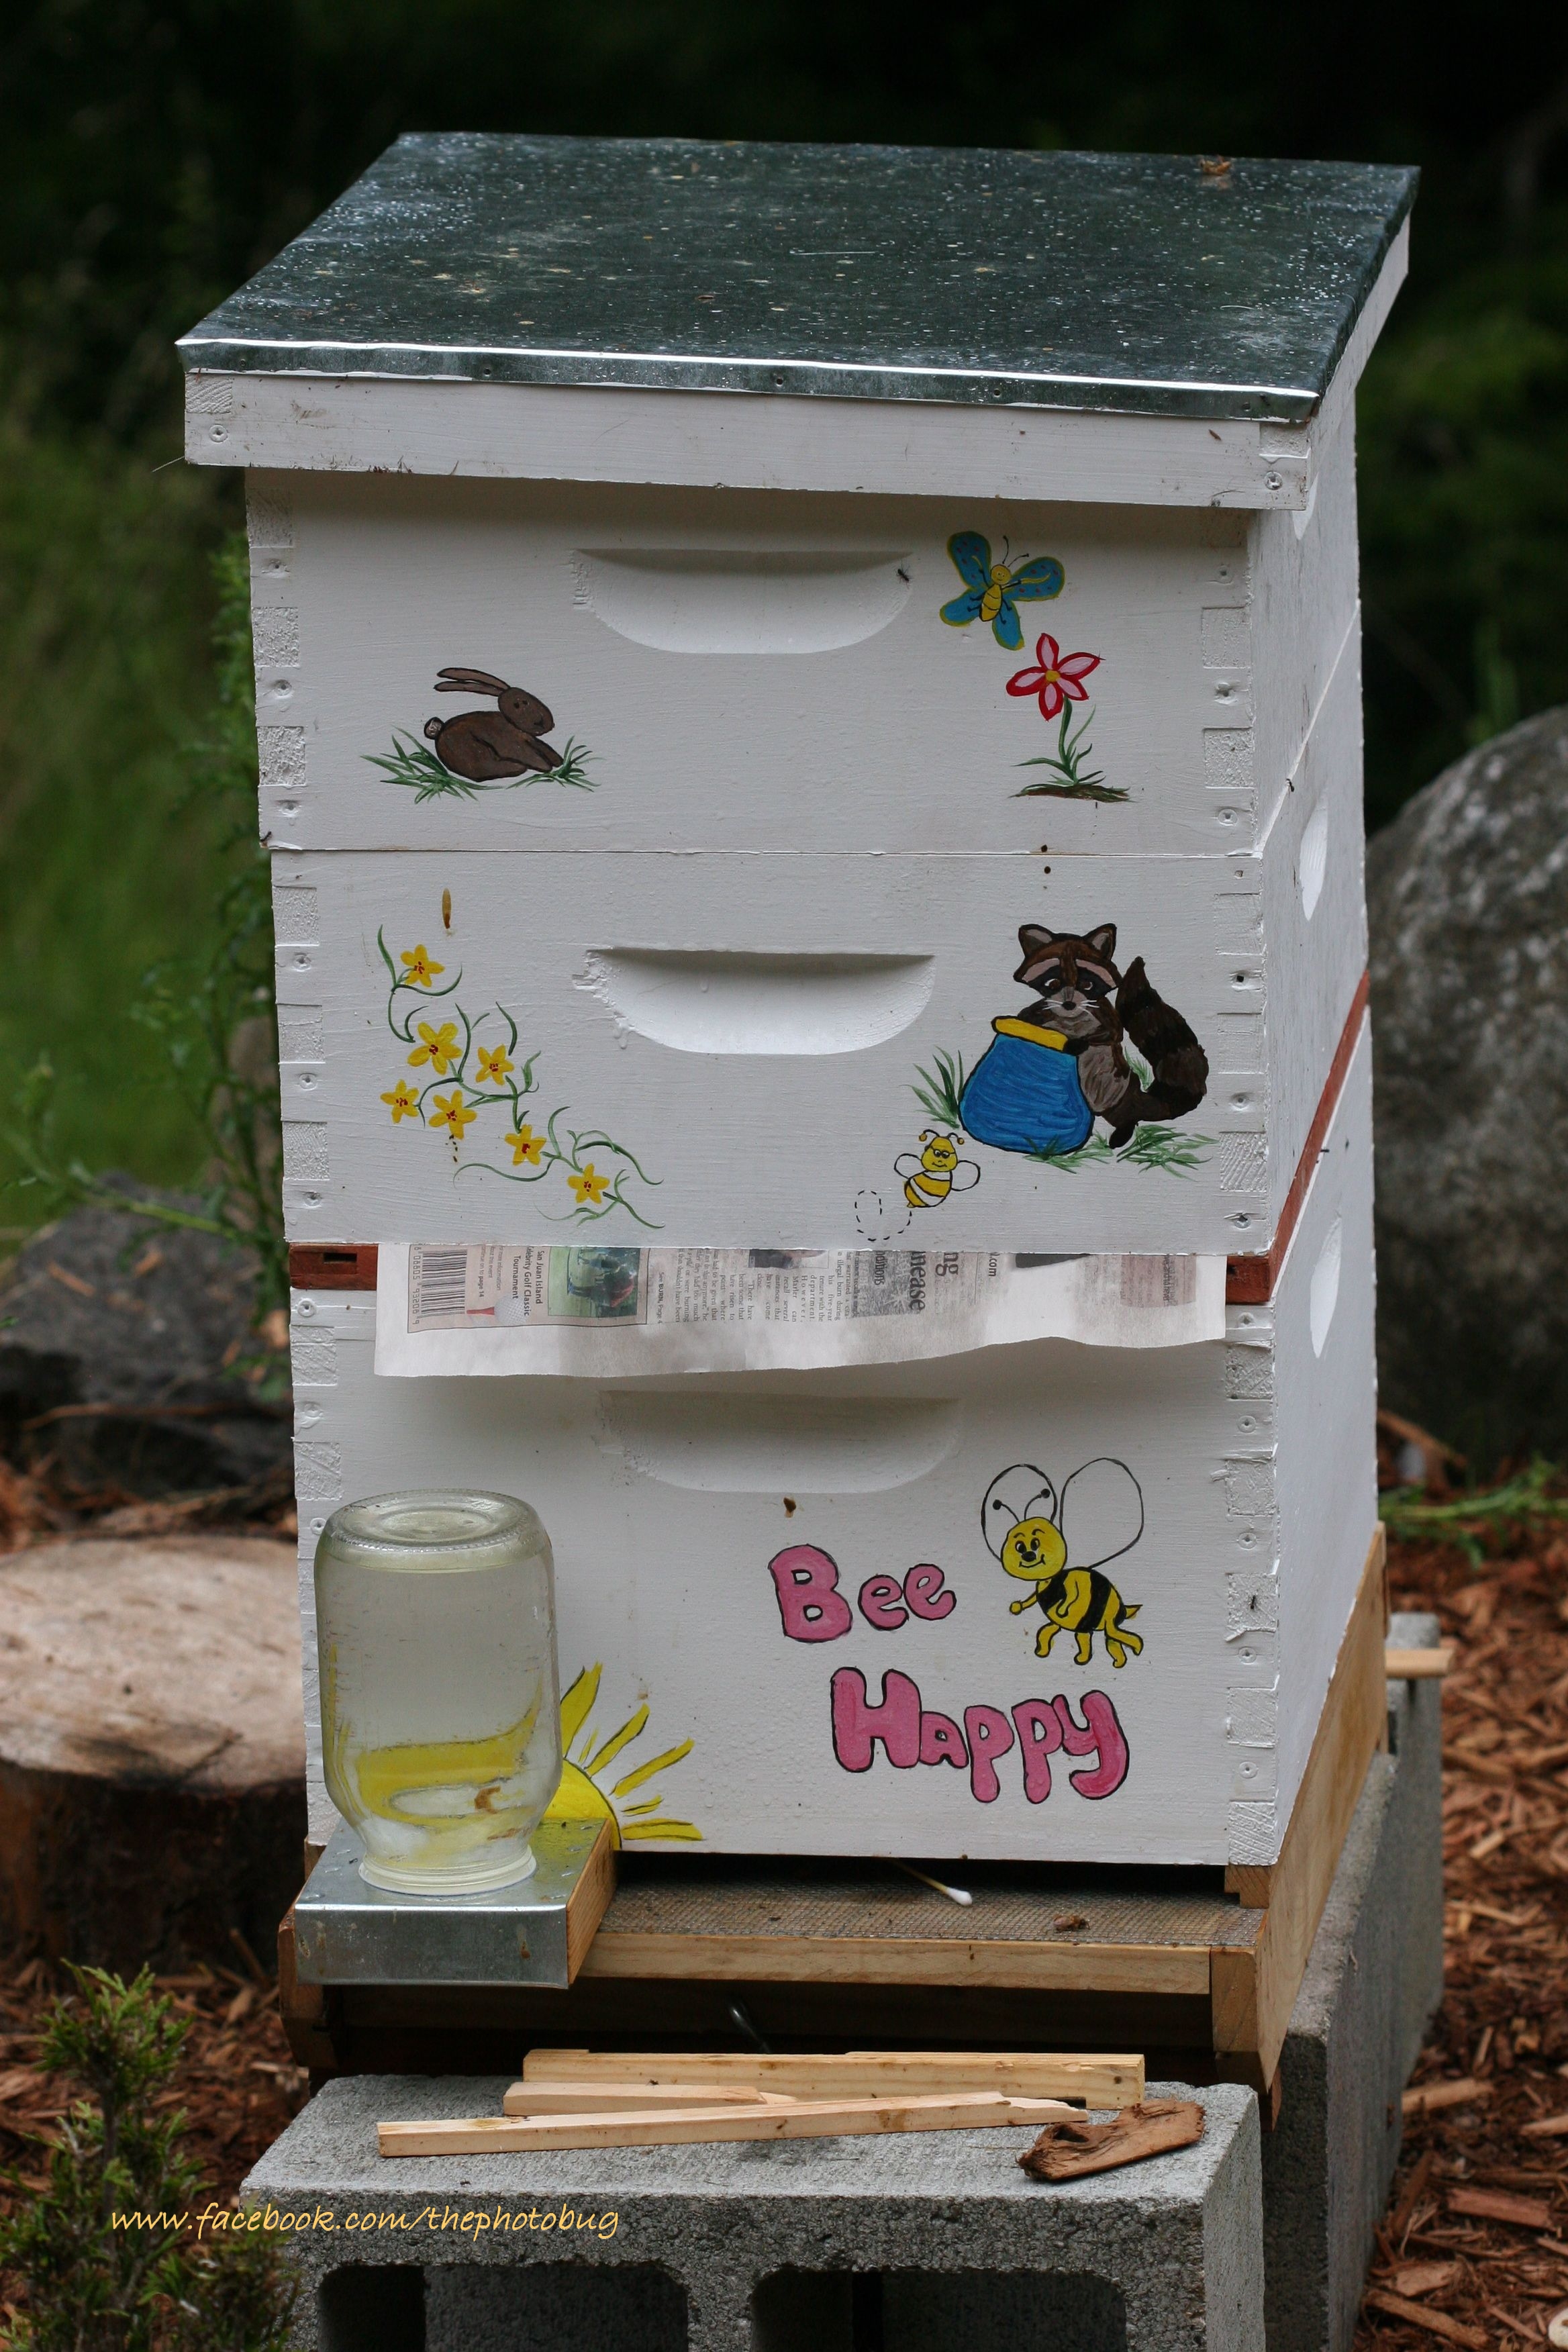
When I started the move, I had a few tasks beforehand. I took out a sheet of newspaper and my spray bottle of sugar water. The newspaper would go between the supers of the old colony and the new colony. The way the newspaper trick works is to keep the bees separated long enough for them to get used to each other. By the time they have chewed through the newspaper (after you help them out a bit by punching some holes in it first), the queen’s pheromones have spread through the colony and they all smell the same. If they didn’t, they’d be more likely to fight. I didn’t want to lose any more bees.
So, I started by lifting the old colony off its bottom board. I carried it over to the new location and set it down on the ground temporarily. This deep super had the new queen inside and I wanted it on the bottom when I combined the colonies. This is where the queen will stay most of the time laying eggs. Next, I took the two shallow supers I had put together for the new bees and lifted them off the screened bottom board. I took the deep super, stacked it where the shallow ones had been and then took the top off the bees in this box. Leaving the inner cover on, I placed the sheet of newspaper over it, and then gave it a few spritzes of sugar water.
Next, I took the two shallow supers with the new bees (these are the ones that had the queen that just flew away). and I stacked them on top of the deep super with the newspaper between them. I made sure to leave the feeder jar inside these top supers too since the bees from this colony wouldn’t be able to go down into the bottom super and reach the boardman feeder until the newspaper had been chewed through.
After this, I took the top off the shallow super (this was my borrowed cover) and exchanged it for the telescoping outer cover that came with my original hive. The borrowed cover was a wooden migratory top that just doesn’t offer the same weatherproofing benefits that a telescoping top would. The telescoping outer cover with a metal top will protect the bees from the elements (rain) now that the hive is sitting in an open area. If the sun comes out today, I may go and take a peek to see how things are going, but for now, I’m letting the bees get acquainted and hoping that this little queen will be productive!
Buzzing off!

Thanks for the detailed account here. It will certainly be helpful for me when I have to do this….